Transforming your audio setup begins with understanding the critical role of speaker placement in delivering immersive, crystal-clear sound that elevates every listening session.
🎵 Why Speaker Placement Matters More Than You Think
Most audio enthusiasts invest heavily in premium speakers, amplifiers, and source equipment, yet overlook the single most cost-effective upgrade available: proper speaker placement. The positioning of your speakers can mean the difference between muddy, unfocused audio and a three-dimensional soundstage that brings music, movies, and games to life with stunning realism.
The acoustic environment in your room interacts with sound waves in complex ways. Bass frequencies can build up in corners, creating boomy, overwhelming low-end response. High frequencies can be absorbed by soft furnishings or reflected harshly off hard surfaces. Mid-range frequencies, where most vocals and instruments live, can become confused and indistinct when speakers aren’t properly positioned relative to walls and listening positions.
Professional recording studios spend thousands on acoustic treatment, but you can achieve remarkable results through strategic speaker placement alone. The relationship between your speakers, room boundaries, and listening position creates what audiophiles call the “sweet spot” – that magical location where everything comes together perfectly.
Understanding the Fundamentals of Sound Physics
Before diving into specific placement strategies, it’s essential to understand how sound behaves in enclosed spaces. When speakers produce sound waves, these waves travel outward in all directions until they encounter surfaces. Hard surfaces like walls, floors, and ceilings reflect these waves back into the room, creating complex interference patterns.
These reflections can be beneficial or detrimental depending on their timing and intensity. Early reflections – those arriving within 20-30 milliseconds of the direct sound – can enhance spaciousness and envelopment. Later reflections create echoes and smear detail, making dialogue less intelligible and music less defined.
Bass frequencies present unique challenges due to their long wavelengths. A 50Hz tone has a wavelength of approximately 22 feet, meaning it can span the entire length of many rooms. This creates standing waves – areas where bass builds up excessively and other areas where it cancels out almost entirely.
The Golden Triangle: Establishing Your Stereo Configuration
The foundation of excellent stereo imaging begins with the equilateral triangle principle. Your two main speakers and your listening position should form three equal points of a triangle. This geometry ensures that sound from both speakers arrives at your ears simultaneously with equal intensity, creating a centered, focused soundstage.
Start by positioning your speakers 6-8 feet apart as a baseline. Your listening position should be the same distance from each speaker. This creates the equilateral triangle that serves as your starting point for fine-tuning.
The angle of your speakers relative to the listening position significantly impacts imaging. Speakers aimed straight ahead create a wider soundstage but with less precise center imaging. Angling them to point directly at the listening position (toe-in) narrows the sweet spot but sharpens focus and reduces side wall reflections.
Distance from Walls: The Critical Boundary
Wall proximity dramatically affects bass response and overall tonal balance. Placing speakers close to walls reinforces bass frequencies through boundary loading – essentially, the wall acts as an extension of the speaker, increasing output at lower frequencies.
For bookshelf speakers designed for shelf or stand mounting, maintain at least 12-18 inches from the front wall (behind the speakers) and 2-3 feet from side walls. This distance prevents excessive bass buildup while maintaining enough boundary reinforcement for full-bodied sound.
Floor-standing speakers often perform best when positioned 3-4 feet from the front wall, particularly if they feature rear-firing ports. This distance allows bass ports to breathe properly and prevents the one-note boom that occurs when port output reflects immediately back into the speaker.
🔊 Optimizing Height for Tweeters and Listening Position
Tweeter height relative to your ears when seated is crucial for accurate high-frequency reproduction. High frequencies are highly directional – even small deviations from the optimal axis can result in dull, rolled-off treble response.
Ideally, tweeters should be at ear level when you’re in your primary listening position. For most seated positions, this means tweeters at approximately 36-42 inches from the floor. If your speakers are too low, consider quality speaker stands that raise them to the proper height. Angling speakers upward is a poor substitute for proper height placement, as it disrupts the intended frequency response.
Many modern tower speakers feature tweeters positioned higher to accommodate both seated and standing listening positions. In these cases, slight toe-in can help direct the tweeter axis toward seated listeners more effectively.
Surround Sound Systems: Expanding the Soundstage
Multi-channel home theater systems add complexity to speaker placement but follow similar principles. Your front left, center, and right speakers should form an arc with the listening position as the center point. The center channel anchors dialogue and on-screen action, making its placement critical for intelligibility.
Center channel speakers should be positioned as close to the television as possible, either directly above or below the screen. Avoid placing them inside cabinets or behind acoustically transparent screens unless specifically designed for such applications. The center should also be angled to point directly at the primary listening position.
Surround Speaker Positioning Strategies
Side surround speakers in a 5.1 or 7.1 configuration should be positioned slightly behind the listening position, at approximately 90-110 degrees from center. Mount them at ear level or slightly above – typically 2-3 feet higher than seated ear height works well for creating an enveloping sound field without drawing attention to the speakers themselves.
Rear surround speakers (in 7.1 systems) should be placed at 135-150 degrees from center, facing toward the listening area. These speakers handle ambient effects and rear-channel information, so they should blend seamlessly rather than dominate the soundscape.
For Dolby Atmos and DTS:X systems featuring height channels, ceiling speakers should be positioned slightly in front of and behind the listening position, creating a rectangular pattern overhead. If using upward-firing modules, place them atop your main speakers and ensure you have a flat ceiling at least 7 feet high for proper sound reflection.
Subwoofer Placement: The Bass Frequency Challenge
Subwoofer placement requires a different approach than main speakers because bass frequencies are largely non-directional below 80Hz. However, placement dramatically affects both the quantity and quality of bass response due to room modes and standing waves.
The infamous “subwoofer crawl” remains the most effective method for finding optimal placement. Place your subwoofer at your main listening position, then crawl around the room’s perimeter at subwoofer height while playing bass-heavy content. The location where bass sounds tightest, most impactful, and most evenly balanced is where your subwoofer should go.
Common effective positions include corners, which provide maximum boundary loading and output but can be boomy, and mid-wall positions, which often provide smoother response. Avoid placing subwoofers against opposing walls at room mid-points, as this excites the strongest room modes.
Multiple Subwoofer Advantages
Using two or more subwoofers significantly improves bass distribution throughout the room. Dual subwoofers placed asymmetrically can smooth out peaks and nulls caused by standing waves. Common dual-sub configurations include opposite corners, front-wall positions flanking the main speakers, or mid-points of opposing walls.
📐 Room Acoustics and Speaker Interaction
Your room’s dimensions, furnishings, and construction materials all influence how speakers perform. Hard, reflective surfaces like bare walls, hardwood floors, and glass windows create bright, lively acoustics that can become fatiguing. Soft furnishings like carpets, curtains, and upholstered furniture absorb sound, particularly high frequencies.
Balanced rooms feature a mix of reflective and absorptive surfaces. A large area rug between speakers and the listening position helps control floor reflections without over-damping the room. Curtains or acoustic panels on side walls reduce early reflections that blur stereo imaging.
The first reflection points – where sound from speakers first hits side walls, ceiling, and floor – are prime locations for acoustic treatment. To find these points, have someone move a mirror along the wall while you sit in the listening position. Where you can see the speaker in the mirror marks a first reflection point.
Fine-Tuning Through Measurement and Listening Tests
Once you’ve established baseline positioning, refinement through careful listening and measurement separates good sound from extraordinary sound. Use familiar recordings with strong center imaging – well-recorded vocals work excellently – to evaluate your setup.
A properly positioned stereo system should create a phantom center image where vocals appear to emanate from a point directly between the speakers. This image should remain stable and focused even when you move your head slightly side to side. If vocals wander or lack solidity, adjust toe-in or the distance between speakers.
Utilizing Room Correction Technology
Modern AV receivers and processors include room correction systems like Audyssey, Dirac Live, and YPAO. These systems use microphones to measure speaker response at multiple positions, then apply equalization and time alignment to optimize performance. While powerful, these systems work best when speakers are already well-positioned mechanically.
Run room correction after positioning speakers but view it as refinement rather than a solution to poor placement. No amount of digital processing can fix the fundamental issues created by speakers crammed into corners or positioned asymmetrically in relation to the listening area.
🎧 Special Considerations for Different Speaker Types
Different speaker designs require adapted placement strategies. Bipolar and dipolar surround speakers radiate sound from front and rear panels, creating diffuse sound fields ideal for side surrounds. These speakers should be positioned to bounce sound off side walls rather than firing directly at listeners.
In-wall and in-ceiling speakers offer clean aesthetics but limited placement flexibility. If using these, pay extra attention to positioning them at proper angles and distances according to the manufacturer’s guidelines. In-ceiling speakers for Atmos should be positioned to create the manufacturer’s recommended firing pattern.
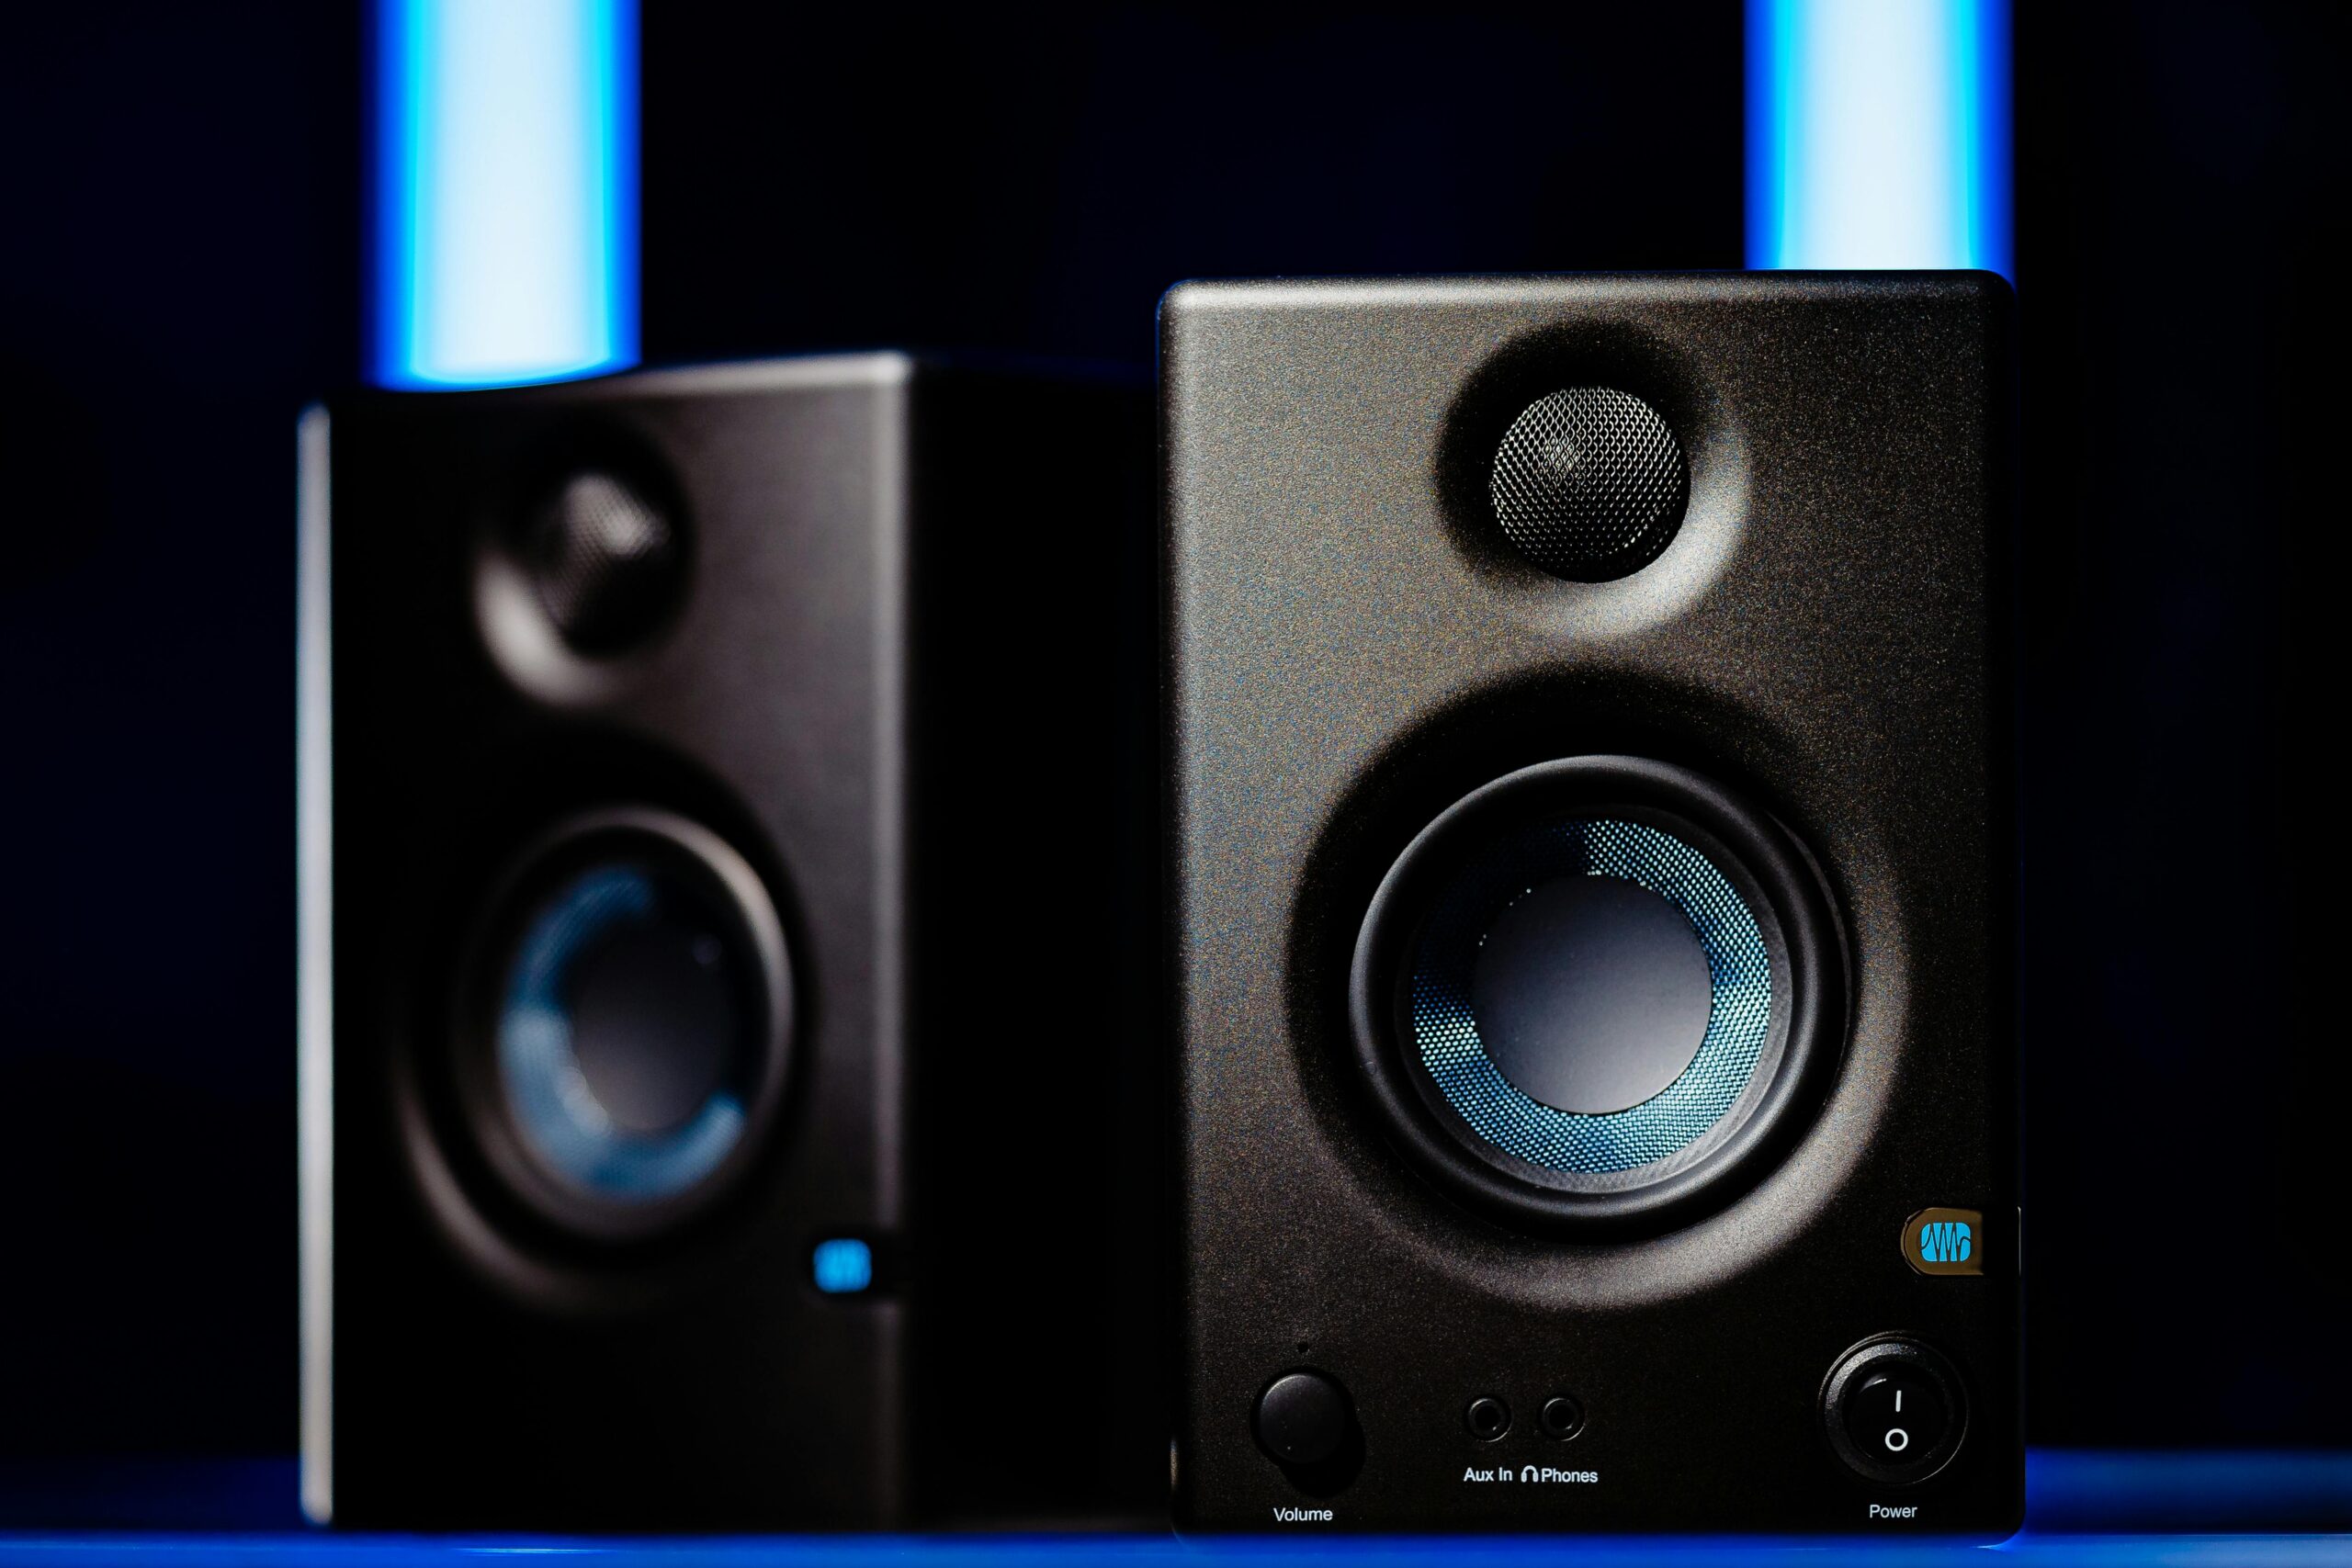
Powered monitors designed for near-field listening (desktop or studio applications) should be positioned closer to the listener – typically 3-5 feet away – forming a smaller equilateral triangle. These speakers are designed to deliver accurate, detailed sound at close range with minimal room interaction.
Common Placement Mistakes to Avoid
Several placement errors consistently compromise sound quality across different systems. Tucking speakers into entertainment centers or cabinets destroys imaging and creates midrange congestion. Speakers need space around them to project sound properly.
Pushing speakers flush against walls to save space might seem practical but inevitably results in boomy, uncontrolled bass and confused midrange. Even a foot or two of breathing room makes dramatic differences in clarity and balance.
Asymmetrical placement – where one speaker is near a corner while the other sits mid-wall – creates unbalanced stereo imaging that no amount of level adjustment can fix. Room constraints sometimes force compromises, but strive for symmetrical positioning whenever possible.
🎬 Adapting Placement for Different Content Types
While optimal placement shouldn’t change based on content, understanding how different media interact with your setup helps you evaluate your positioning choices. Music reproduction benefits most from precise stereo imaging and natural tonal balance, making the two-channel setup most critical.
Home theater content relies more heavily on the center channel and surround speakers for immersion. Dialogue intelligibility depends on proper center channel placement and angle, while ambient effects require properly positioned surrounds that create envelopment without drawing attention.
Gaming occupies middle ground, benefiting from both stereo precision for directional cues and surround channels for environmental immersion. If you primarily game, consider slightly wider speaker spacing to expand the soundstage for a more immersive experience.
Measuring Success: What Excellent Placement Sounds Like
How do you know when you’ve achieved optimal placement? Well-positioned speakers create several recognizable characteristics. The soundstage extends beyond the physical speakers, with instruments and voices occupying specific, stable positions in three-dimensional space.
Bass response sounds tight and controlled rather than boomy or thin. You can distinguish individual notes in bass lines rather than hearing an indistinct rumble. Kick drums have impact without overwhelming the mix, and bass guitars maintain definition.
High frequencies sound smooth and extended without harshness or excessive brightness. Cymbals have natural shimmer and decay. Sibilance in vocals sounds natural rather than exaggerated or suppressed. You can listen for extended periods without fatigue.
Making Compromises in Real-World Living Spaces
Not everyone has dedicated listening rooms where acoustic performance takes priority over all other considerations. Living spaces must accommodate furniture, traffic patterns, and aesthetic preferences alongside audio equipment.
When compromises become necessary, prioritize the most impactful elements. Maintaining symmetrical positioning for main speakers should be non-negotiable, even if ideal distances from walls aren’t achievable. Proper tweeter height matters more than perfect toe-in angles.
If a subwoofer can’t go in the acoustically optimal location due to room layout constraints, try the next-best position identified during your subwoofer crawl. Room correction software can often mitigate minor placement compromises more effectively than it can fix fundamental positioning errors.
🌟 Unlocking Your System’s True Potential
The journey to exceptional sound quality doesn’t require expensive upgrades or acoustic reconstruction. Through methodical speaker placement, careful listening, and willingness to experiment with small adjustments, you can unlock performance your system has possessed all along.
Start with the fundamental principles outlined here: establish proper distances, create symmetrical positioning, ensure appropriate height, and allow speakers space to breathe. From this foundation, make incremental adjustments while listening to familiar content, noting how each change affects imaging, tonal balance, and overall presentation.
Remember that speaker placement is interactive – changing one element affects others. Moving speakers further from walls reduces bass but may improve midrange clarity, requiring slight toe-in adjustment to maintain imaging focus. Each room presents unique challenges and opportunities, making experimentation essential.
The remarkable aspect of speaker placement optimization is its permanence. Unlike equipment upgrades that face obsolescence, proper positioning delivers enduring benefits regardless of format changes or technology evolution. The acoustic principles governing sound wave behavior remain constant, meaning time invested in optimal placement continues paying dividends throughout your system’s lifetime.
Your listening experience deserves the full potential your speakers can deliver. By mastering the art of speaker placement, you transform ordinary playback into engaging, emotionally resonant experiences that reveal new dimensions in familiar recordings and bring cinema-quality immersion to your home theater. The sweet spot awaits – your journey to superior sound quality begins with the first careful adjustment.